Photo credits
The photographs in the ICAO practice exams are the work of the photographers and agencies listed below and are used under the licence named next to each photo. They are not TurkCouncil's own pictures; only the licence stated here applies to them. None of them is computer-generated.
Every photo is shown cropped and resized; nothing else was changed. The cropped versions of photos licensed CC BY-SA are offered under the same licence as the original, so you may reuse them under the same terms with the same credit.
The questions, texts, transcripts and audio of the exams are prepared by TurkCouncil and are not covered by these licences.
Are you the author of one of these photos and want the credit corrected or your work removed? Write to info@turkcouncil.com.
-
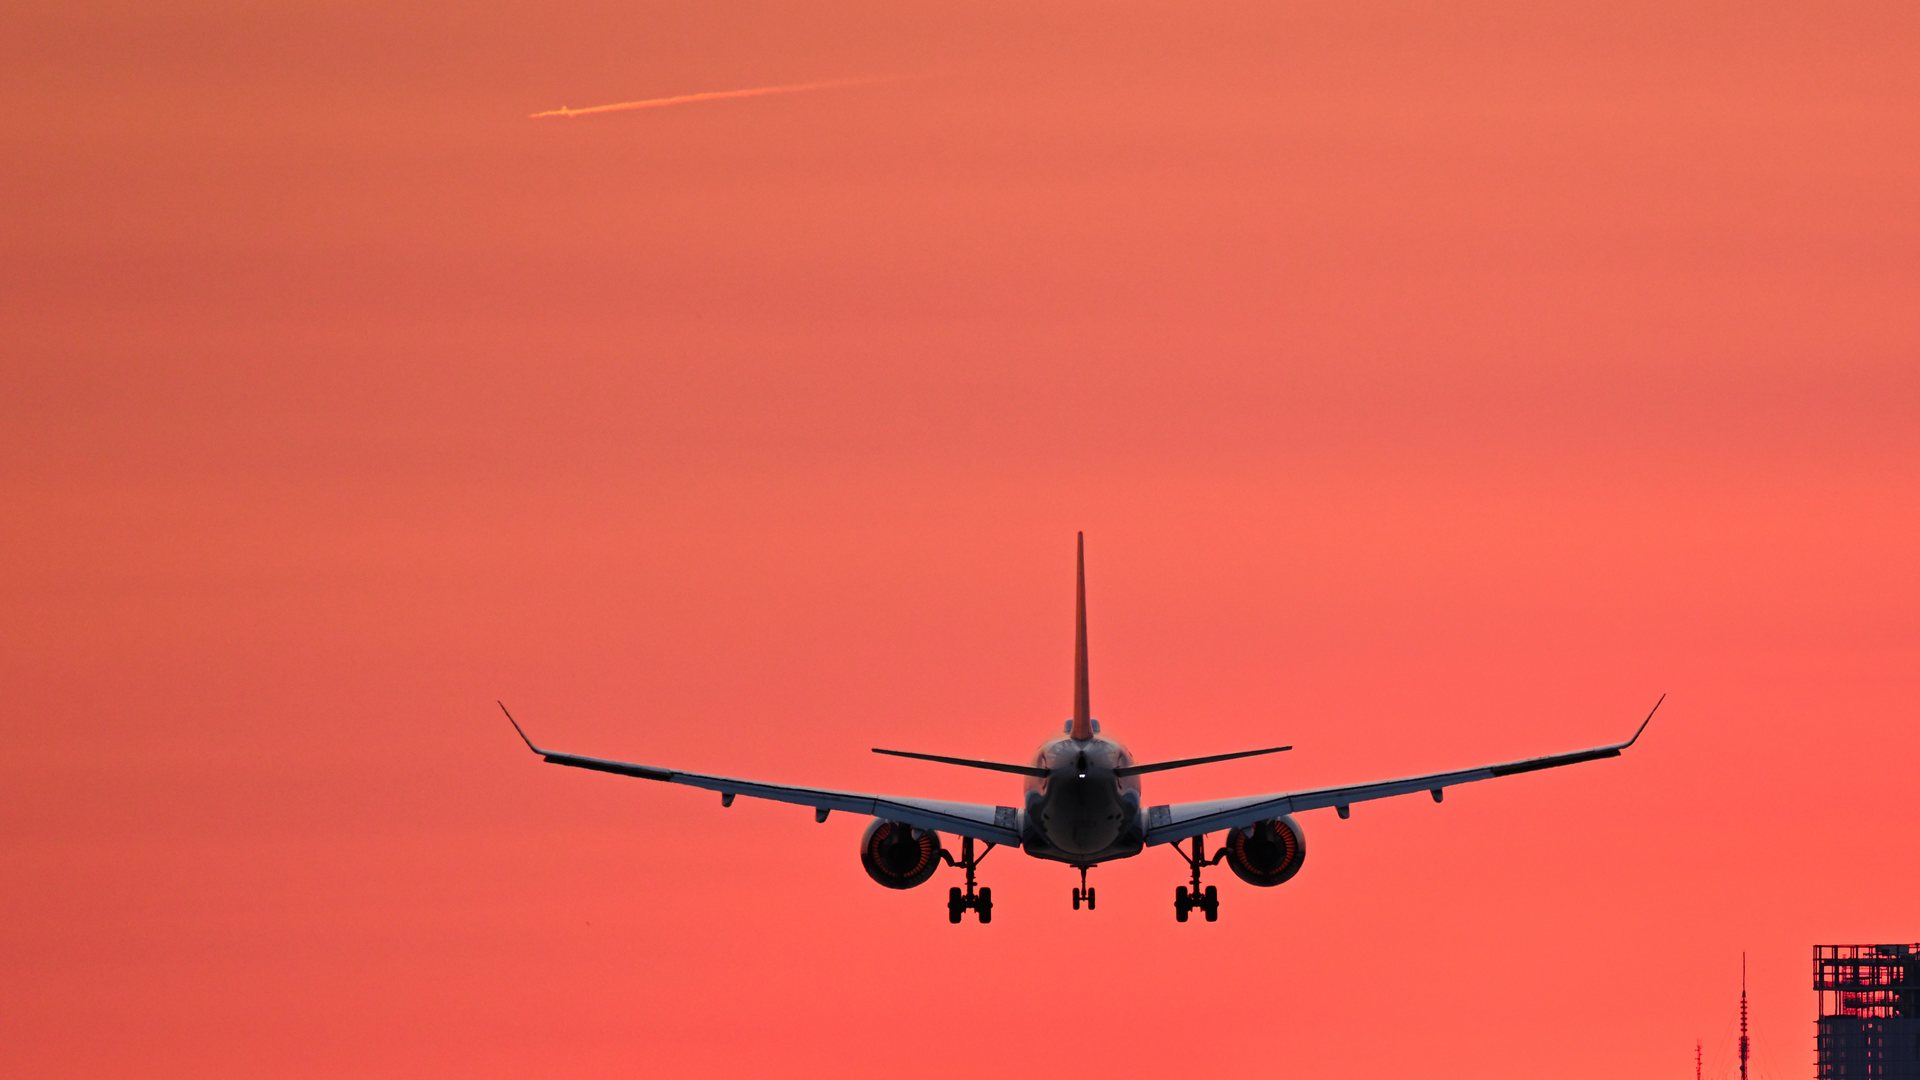 ICAO 3-4 Foundations — Basic RadiotelephonyCover photoPhoto: Airbus A220 on final approach to Runway 27 at Boston during sunset by 4300streetcar · CC BY 4.0 · cropped
-
ICAO 3-4 Foundations — Basic RadiotelephonySection 4 — Describe the picturePhoto: Airbus A220 on final approach to Runway 27 at Boston during sunset by 4300streetcar · CC BY 4.0 · cropped
-
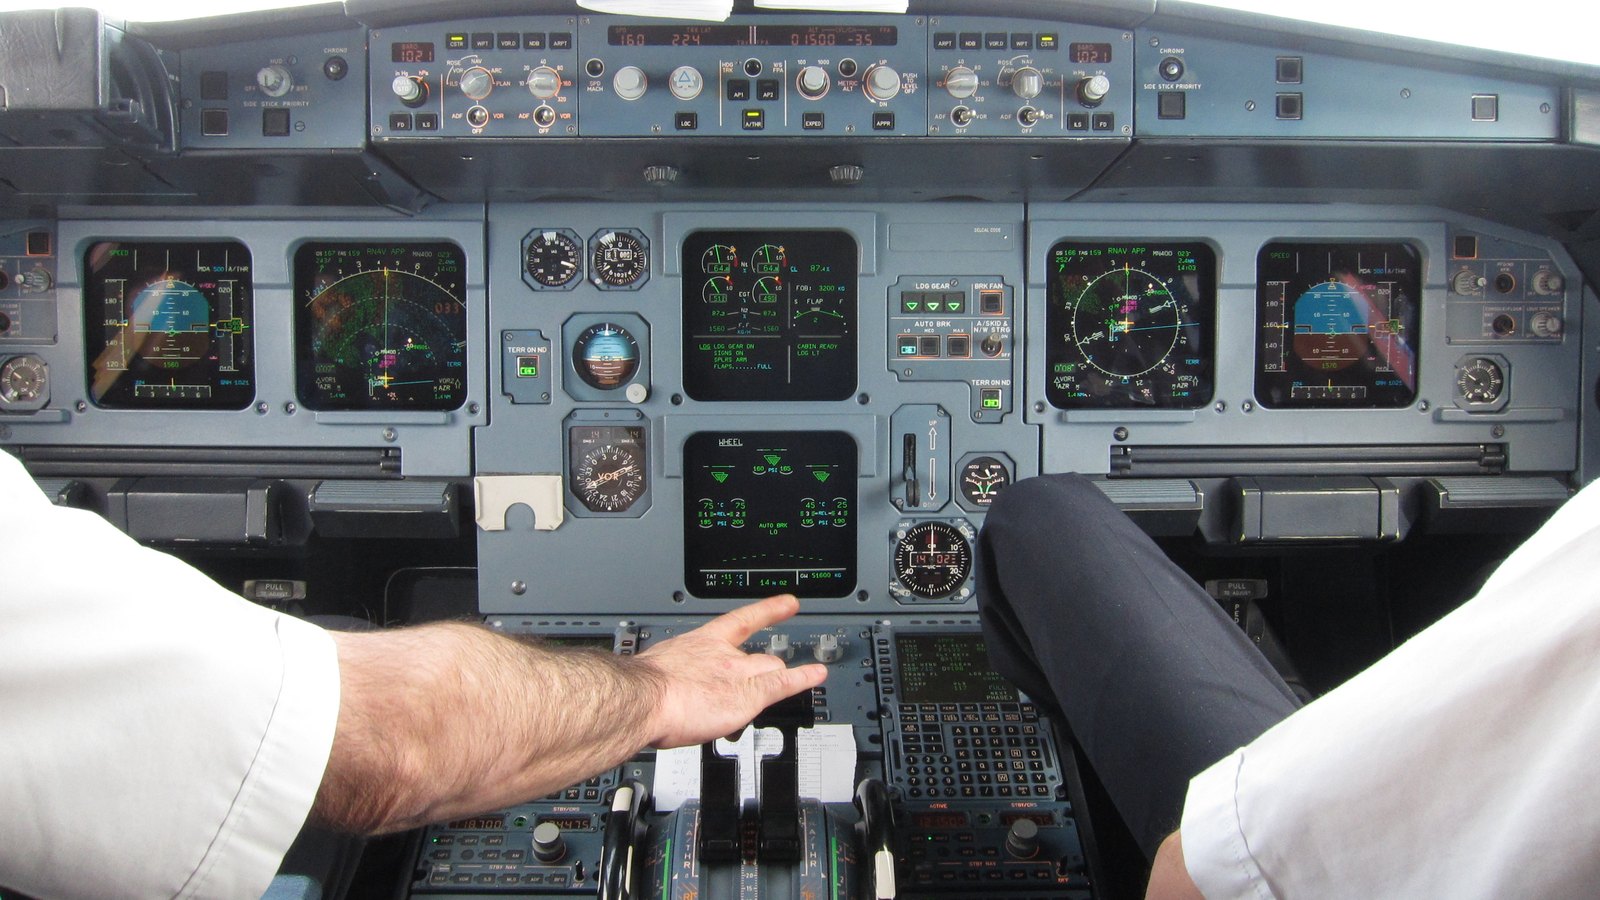 ICAO 4-5 Operational — IFR RadiotelephonyCover photoPhoto: Adjusting thrust during visual approach by Olivier Cleynen · CC BY-SA 3.0 · cropped
-
ICAO 4-5 Operational — IFR RadiotelephonySection 4 — Describe the picturePhoto: Adjusting thrust during visual approach by Olivier Cleynen · CC BY-SA 3.0 · cropped
-
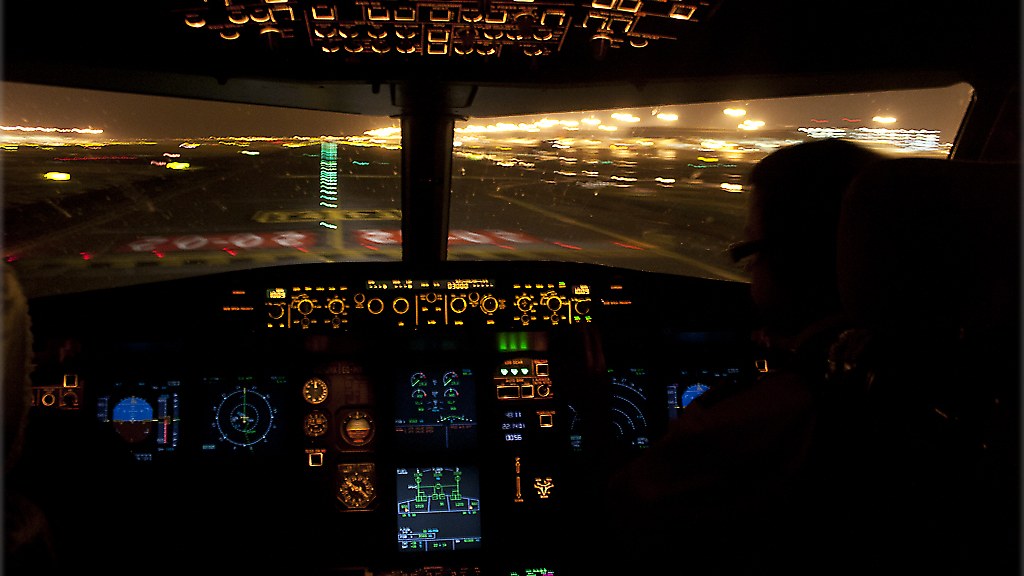 ICAO 5-6 Mastery — Non-Routine & EmergencyCover photoPhoto: Runway vacated by Curimedia · CC BY 2.0 · cropped
-
ICAO 5-6 Mastery — Non-Routine & EmergencySection 5 — Describe the picturePhoto: Runway vacated by Curimedia · CC BY 2.0 · cropped
-
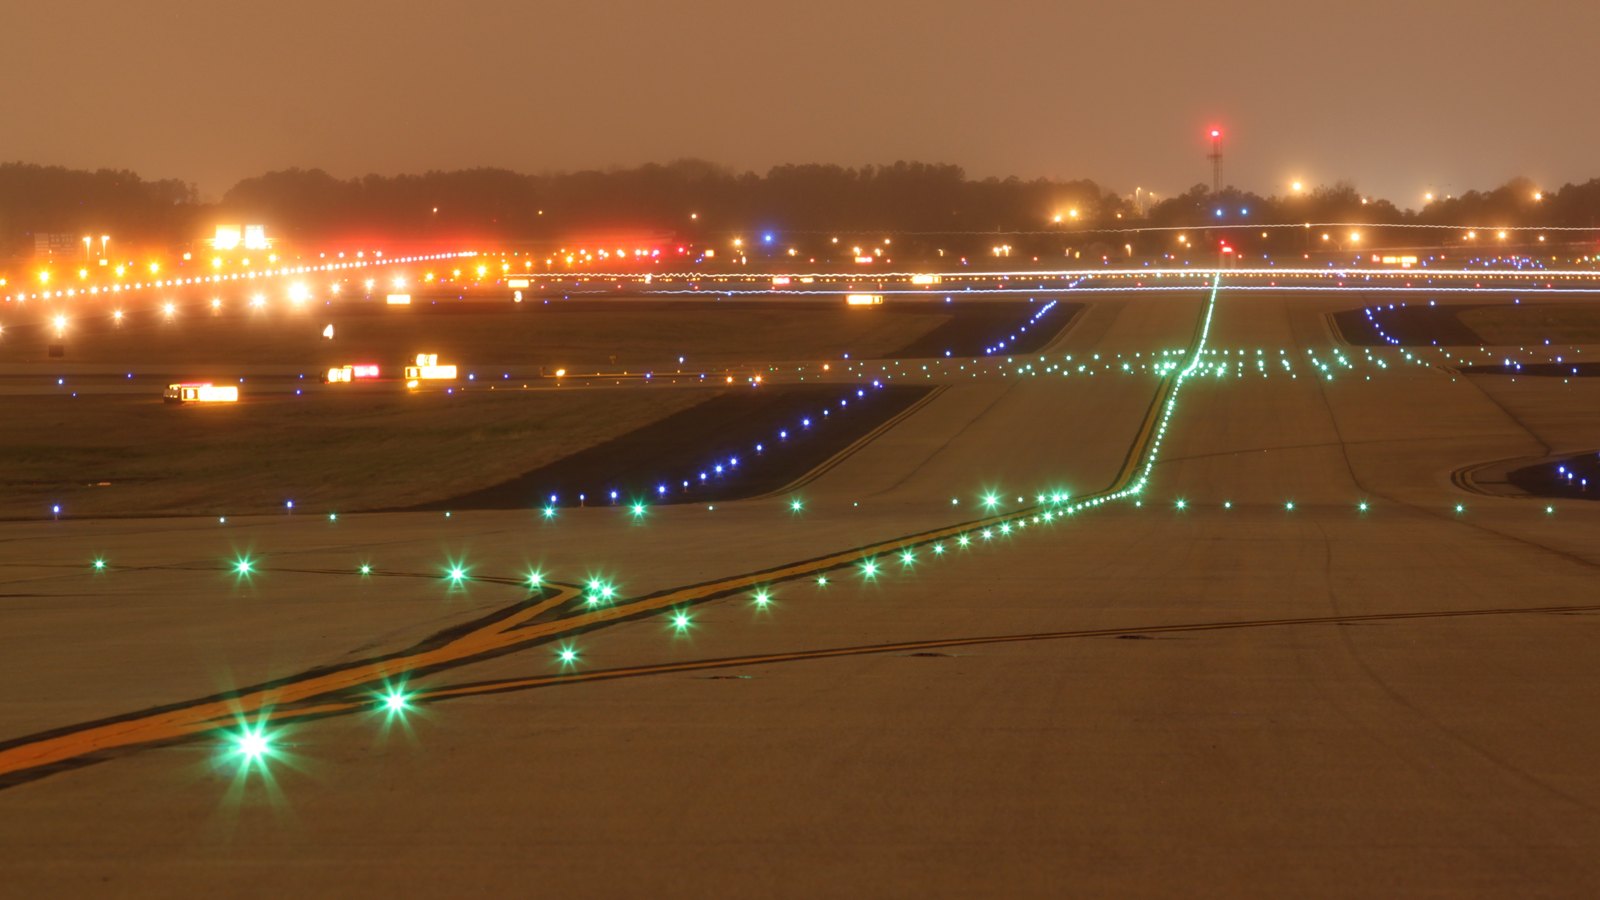 Taxi & Ground Operations — Holding Positions & Read-backsCover photoPhoto: ATL TWY B - RWY Crossing by John Murphy · CC BY-SA 2.0 · cropped
-
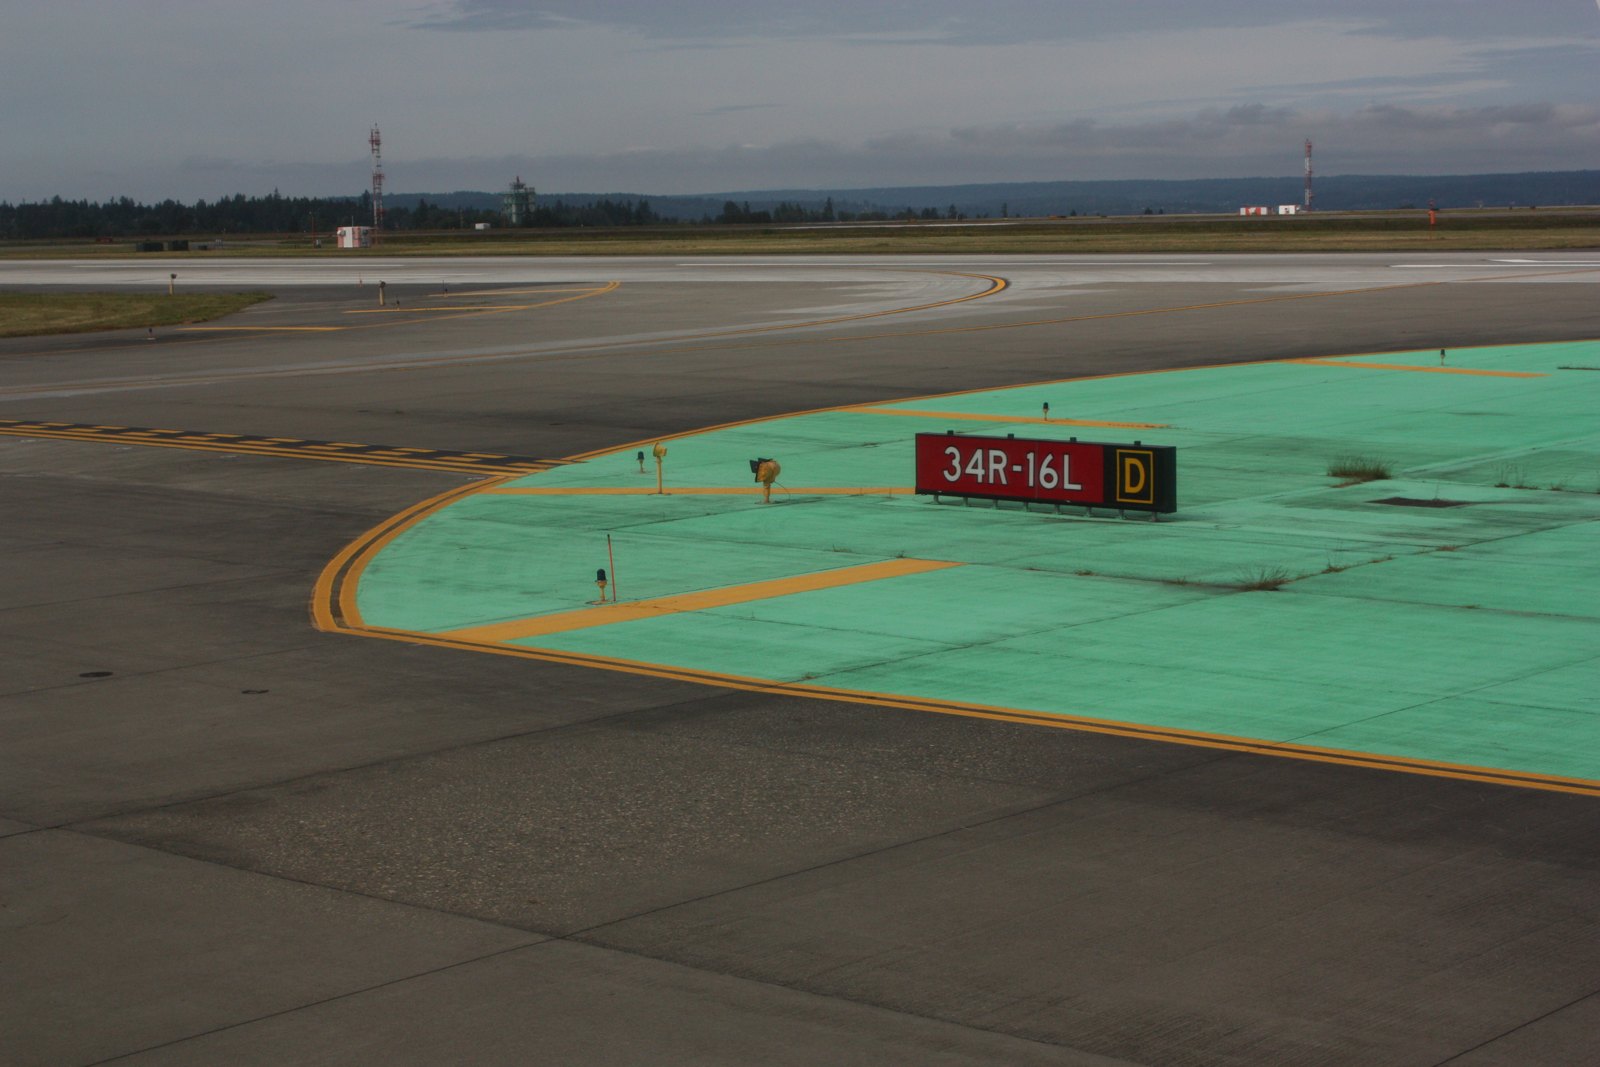 Taxi & Ground Operations — Holding Positions & Read-backsSection 1 — Read the holding positionPhoto: Taxiway 8255 by Walter Siegmund · CC BY-SA 3.0 · cropped
-
Taxi & Ground Operations — Holding Positions & Read-backsSection 3 — Describe the picturePhoto: ATL TWY B - RWY Crossing by John Murphy · CC BY-SA 2.0 · cropped
-
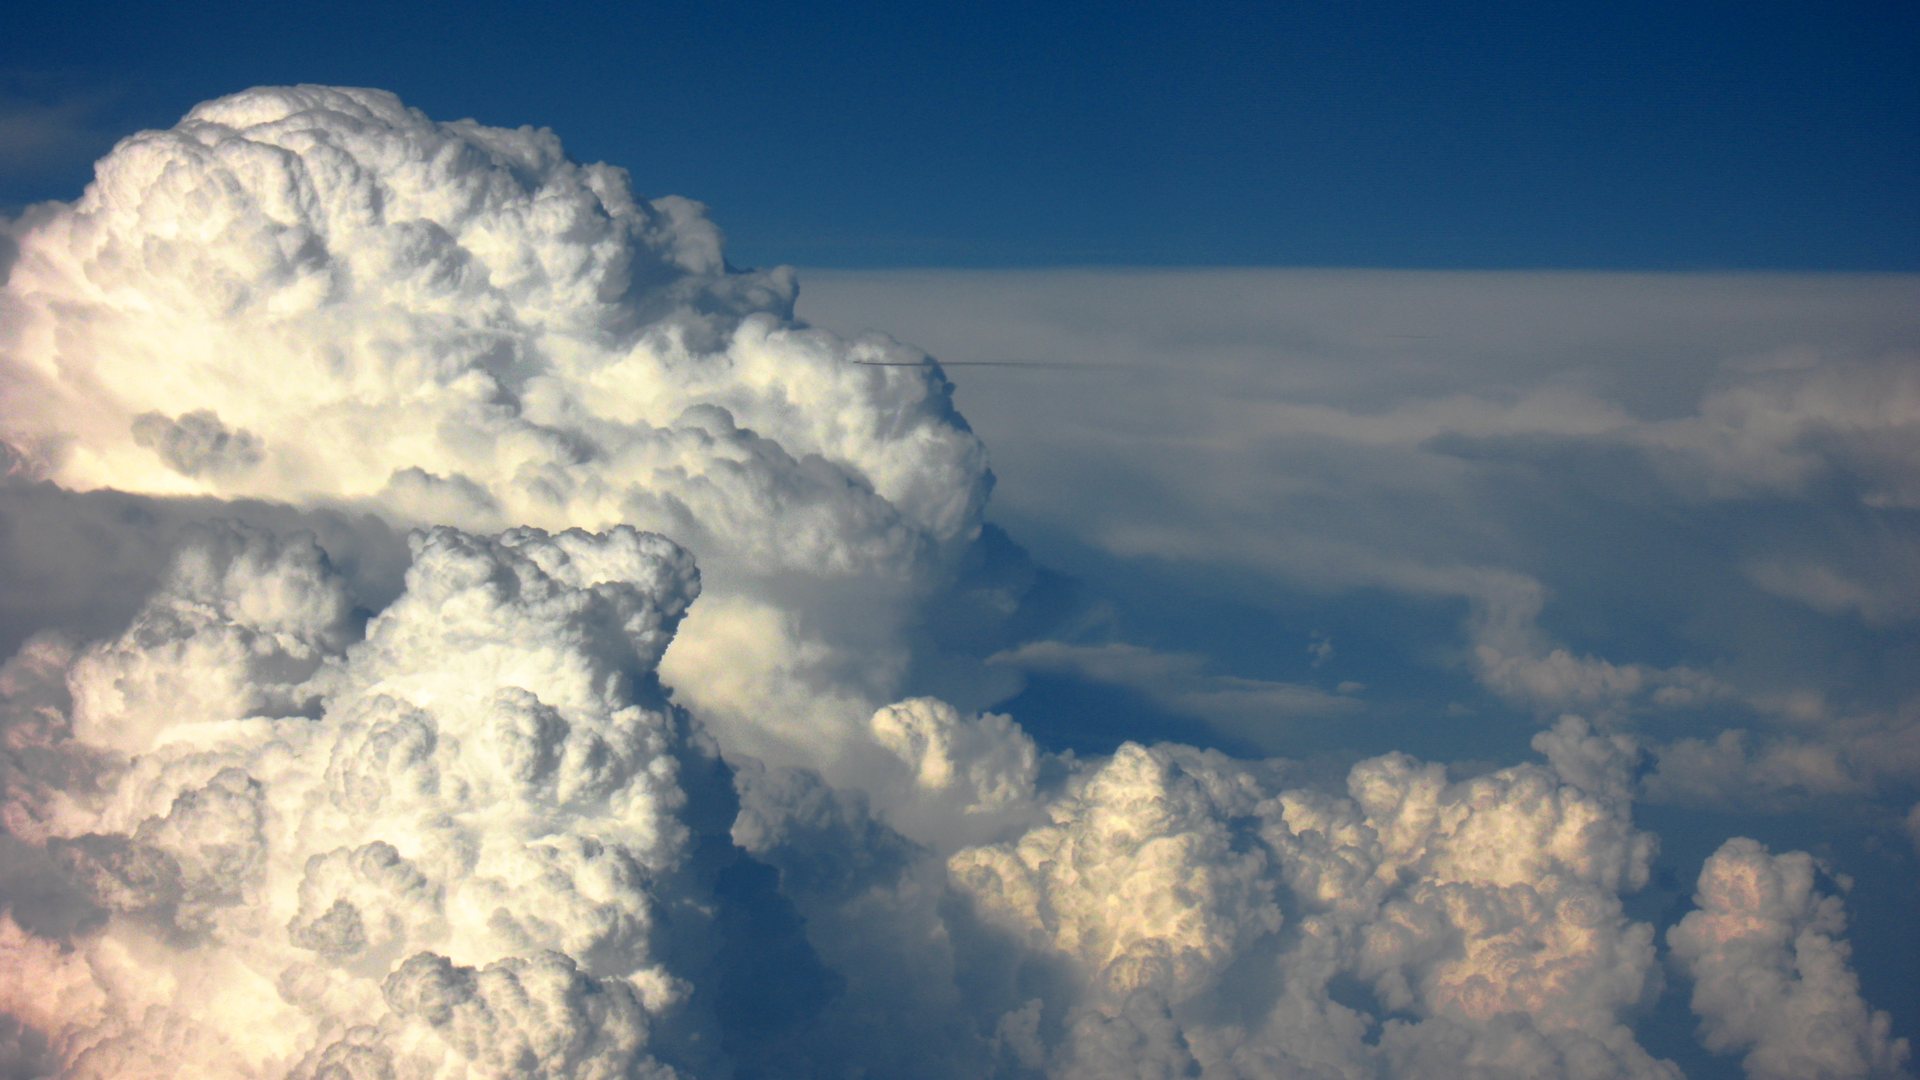 Weather & Hazards — METAR, Weather Radar, CBCover photoPhoto: Cumulonimbus Clouds by Михал Орела · CC BY 2.0 · cropped
-
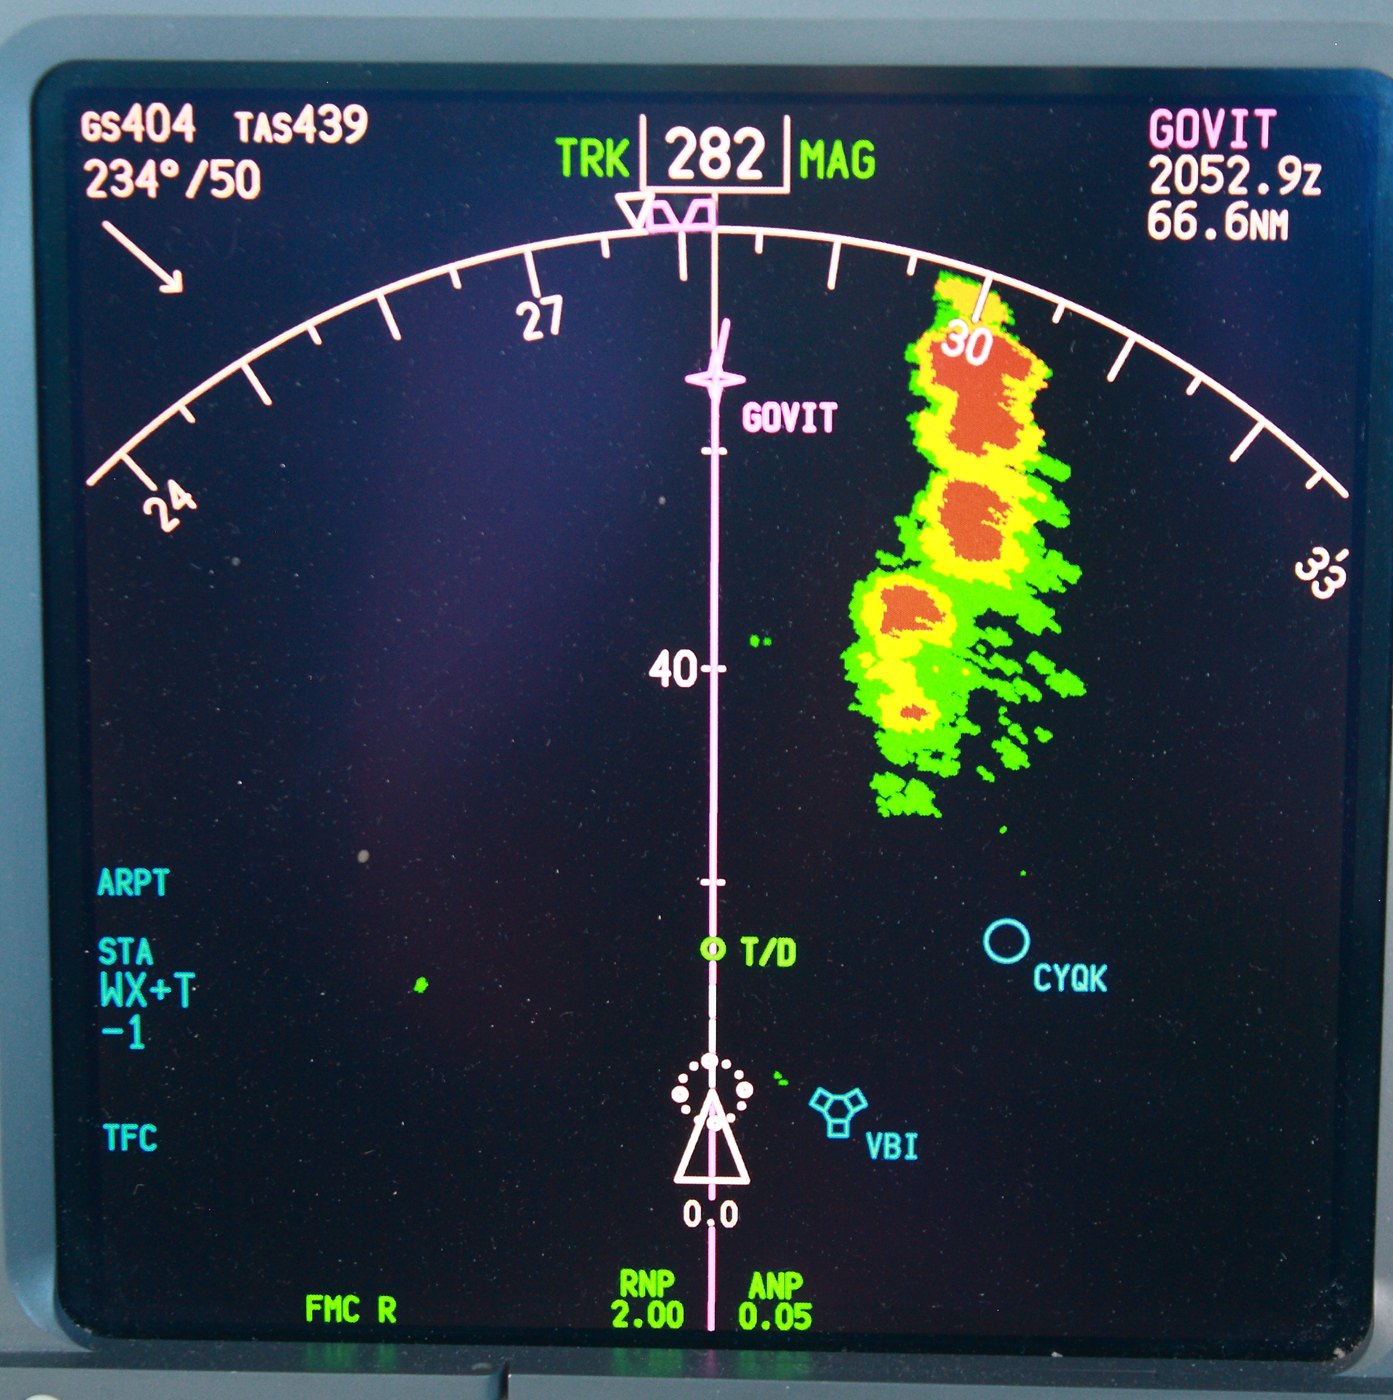 Weather & Hazards — METAR, Weather Radar, CBSection 2 — Read the weather radarPhoto: 737NG Navigation Display with weather radar showing by Shawn from Airdrie, Canada · CC BY-SA 2.0 · cropped
-
Weather & Hazards — METAR, Weather Radar, CBSection 4 — Describe the picturePhoto: Cumulonimbus Clouds by Михал Орела · CC BY 2.0 · cropped
